
Consent Management
Consent management allows you to manage your subscription policies and tracks any changes to consents for every customer. The main features of consent management in Bloomreach Engagement are:
- Defining your own consent categories that customers can subscribe to
- Setting subscriptions based on a legitimate interest
- Lifetime overview of the whole consent history for every customer - see who, when, and where gave or withdrew a consent
- Customizable consent management page for your customers
Enabling consents management
Consents management is enabled for all newly created projects by default. Projects created before 01-05-2018 use campaign groups instead of consents and consent categories. You can enable the new consent management and migrate your groups by going to Project settings > Privacy management > Consents. Once consents are enabled, the campaign groups are automatically mapped and migrated to consent categories. In the picture below, you can see how will your consent groups look after the migration.

Once you enable consents in your production project, you will not be able to trigger any campaign that was historically connected to a campaign group. You need to load valid consents in order to trigger these campaigns. You will also not be able to reverse the campaign groups functionality once you enable consent categories.
Consent categories
Consent categories allow you to manage and organize data into multiple categories, each with different consent status and a different approach to data processing and communication. Thanks to the categories, you will be able to approach each of your customers in the way to which the specific customer consented or for which they have a legitimate interest. There are three types of categories available in Bloomreach Engagement:
- General consent
- Consent
- Legitimate interest
Read more about these categories and their configuration in the Consent categories article.
Managing consents in the customer profile
You can monitor and manage consents for each individual customer in their profile, where they also show as an attribute. The overview in their profile shows you the consents granted and revoked, the current status of every consent given by the particular customer with the whole history and details such as the source of the consents and their expiration dates. Below you can see how you can update consents for a customer:

Manage Consents Through a Scenario
You can modify consent by creating events in a scenario. Here's how to do it.
As an example, the main component you can use is an AddEvent node through which you can add a consent event to a customer profile. There are 3 mandatory event properties that you need to specify inside the consent event in order to grant valid consent:
-
action - accept or reject: This depends if you wish to grant or revoke the consent.
-
category - Name of the consent category: You can retrieve this name from ProjectSettings > PrivacyManagement > Consents, where you can see the name of a particular consent category. This is important as the name of the consent that we see in the UI while selecting it, can be different.
-
valid_until - UNIX timestamp or either “unlimited”: If you are granting consent, you can specify when it expires. You can use a UNIX timestamp for defining a specific expiration date or use value unlimited if you want it to last forever. This valid_until property is needed only when you are granting consent, if you are rejecting consent then this is not a mandatory event property.

Note that the above event properties are case-sensitive, and you need to use lowercase letters otherwise, they are not recognized.
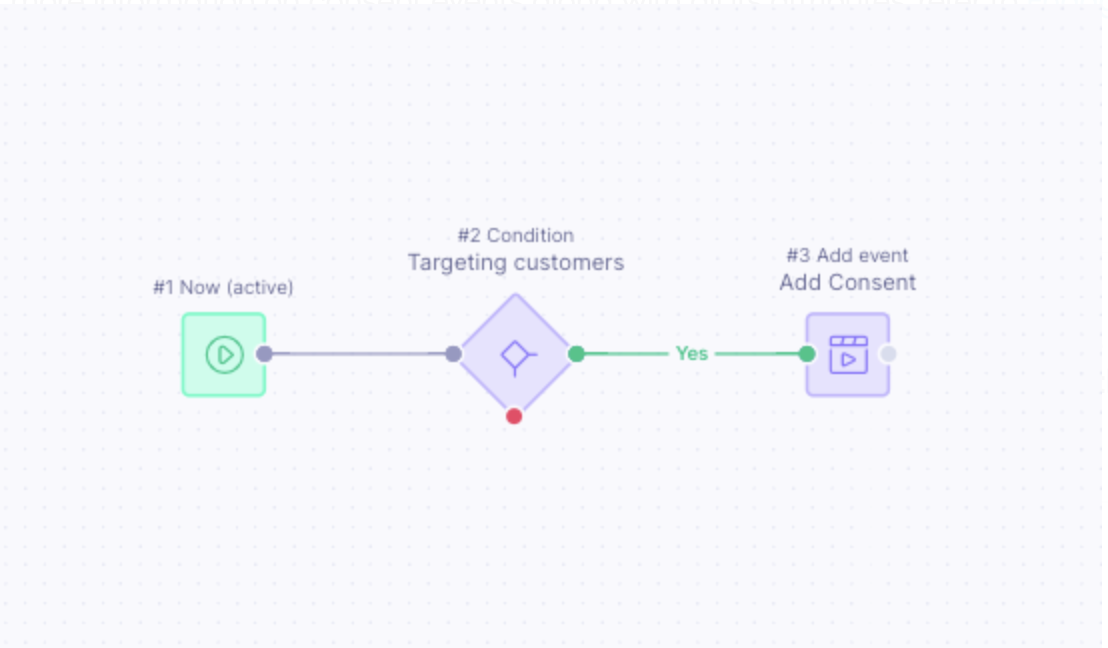
Example of the scenario managing consent
Updated 5 months ago